Skip to contentExploring the Differences Between AXI and AOI
wellman2023-12-19T16:27:28+08:00In the fast-paced world of Surface Mount Technology (SMT), precision and efficiency are paramount. As electronic devices become increasingly sophisticated, the need for reliable quality control processes has never been greater. Among the arsenal of tools utilized in the SMT industry, Automated X-ray Inspection (AXI) and Automated Optical Inspection (AOI) stand out as pivotal technologies. In this article, we will delve into the nuances that set AXI and AOI apart, shedding light on their unique capabilities and applications.
Understanding AXI: Peering into the Depths
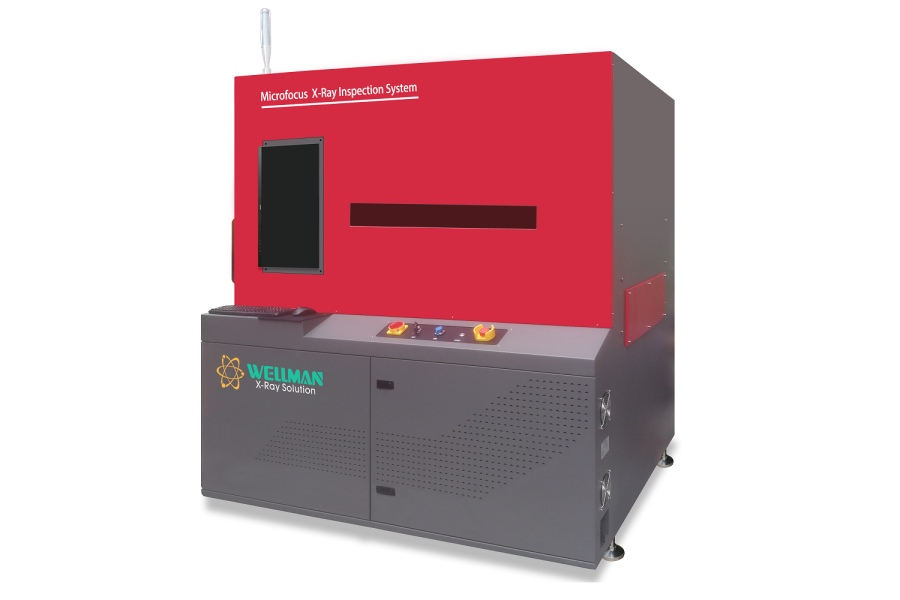
Automated X-ray Inspection (AXI) is a cutting-edge technology that operates on the principle of X-ray imaging. Unlike its optical counterpart, AXI has the ability to penetrate the surface of assembled electronic components, providing a comprehensive view of the internal structures. This non-destructive testing method is particularly invaluable for inspecting hidden joints, solder connections, and other critical elements that may be concealed from optical inspection.
The X-ray capability of AXI enables it to assess the structural integrity of complex assemblies with high precision. This includes inspecting components with varying shapes, sizes, and orientations, offering a level of detail that is often challenging for other inspection methods to achieve. AXI is especially adept at identifying defects such as voids, misalignments, and insufficient soldering, contributing significantly to the enhancement of product reliability.
AOI: The Optical Vanguard
Automated Optical Inspection (AOI), on the other hand, relies on optical technology to scrutinize the external features of assembled electronic components. AOI systems employ high-resolution cameras and sophisticated image processing algorithms to detect and analyze surface anomalies. This method is highly efficient for inspecting components visible to the naked eye, making it an essential tool in the early stages of production.
AOI excels in identifying defects such as soldering issues, component misplacements, and other surface-related discrepancies. Its rapid inspection capabilities contribute to increased throughput, making it an ideal choice for high-volume manufacturing environments. With advancements in camera technology and image processing algorithms, AOI systems can now provide detailed and accurate inspection results, ensuring that even the minutest defects are not overlooked.

Key Differences: AXI vs. AOI
While both AXI and AOI serve the overarching goal of ensuring the quality of electronic assemblies, their methodologies and applications differ significantly. Let’s break down the key differences between these two crucial inspection technologies:
Inspection Depth:
AXI excels in inspecting the internal structures of electronic components through X-ray imaging.
AOI focuses on the external features and surface conditions of assembled components using optical technology.
Detection Capabilities:
AXI is adept at identifying defects such as voids, misalignments, and insufficient soldering within concealed areas.
AOI specializes in detecting surface-related issues, including soldering problems, component misplacements, and other visible anomalies.
Versatility:
AXI is highly versatile and can inspect a wide range of components with varying shapes, sizes, and orientations.
AOI is particularly efficient in inspecting components that are visible to the naked eye, making it suitable for high-speed production lines.
Non-Destructive Testing:
AXI is a non-destructive testing method, allowing for thorough inspection without compromising the integrity of the components.
AOI is also non-destructive, enabling manufacturers to identify and rectify defects without causing damage to the inspected assemblies.
Throughput and Speed:
AXI may have slightly longer inspection times due to its in-depth analysis of internal structures.
AOI is renowned for its rapid inspection capabilities, contributing to increased throughput in high-volume manufacturing environments.
Choosing the Right Tool for the Job
The decision to implement AXI or AOI depends on various factors, including the specific requirements of the manufacturing process, the type of electronic components being produced, and the desired level of inspection detail. In many cases, a combination of both AXI and AOI may be employed at different stages of the production line to ensure comprehensive quality control.
Manufacturers operating in industries where the highest levels of precision and reliability are paramount often opt for a hybrid approach, integrating AXI and AOI seamlessly into their quality control processes. This dual strategy allows for a holistic inspection methodology, addressing both internal and external factors that contribute to the overall quality of electronic assemblies.
Conclusion: Navigating the SMT Inspection Landscape
In the ever-evolving landscape of Surface Mount Technology, the choice between AXI and AOI is not a binary one. Each technology brings its own set of strengths to the table, contributing to a comprehensive quality control strategy. As electronic components continue to advance in complexity and miniaturization, the synergy between AXI and AOI becomes increasingly crucial in ensuring the reliability and functionality of the final products.
Manufacturers navigating the intricate SMT inspection landscape must carefully assess their specific needs and production requirements. By leveraging the strengths of both AXI and AOI, they can establish a robust quality control framework that not only meets industry standards but also propels them towards excellence in the highly competitive world of electronics manufacturing.
Share this to your social media


